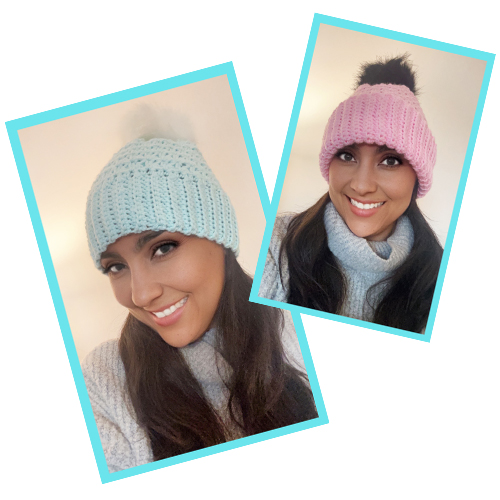
Cute Crochet Hat "Trinity"
By Laurain Crochet, Winter
Hi, and Welcome again to my website. This time I have an easy pattern to make this cute hat. This is a great project if you want to try new crochet stitches, or you just got bored of the usual ones and you want to try new ones! So here we go:
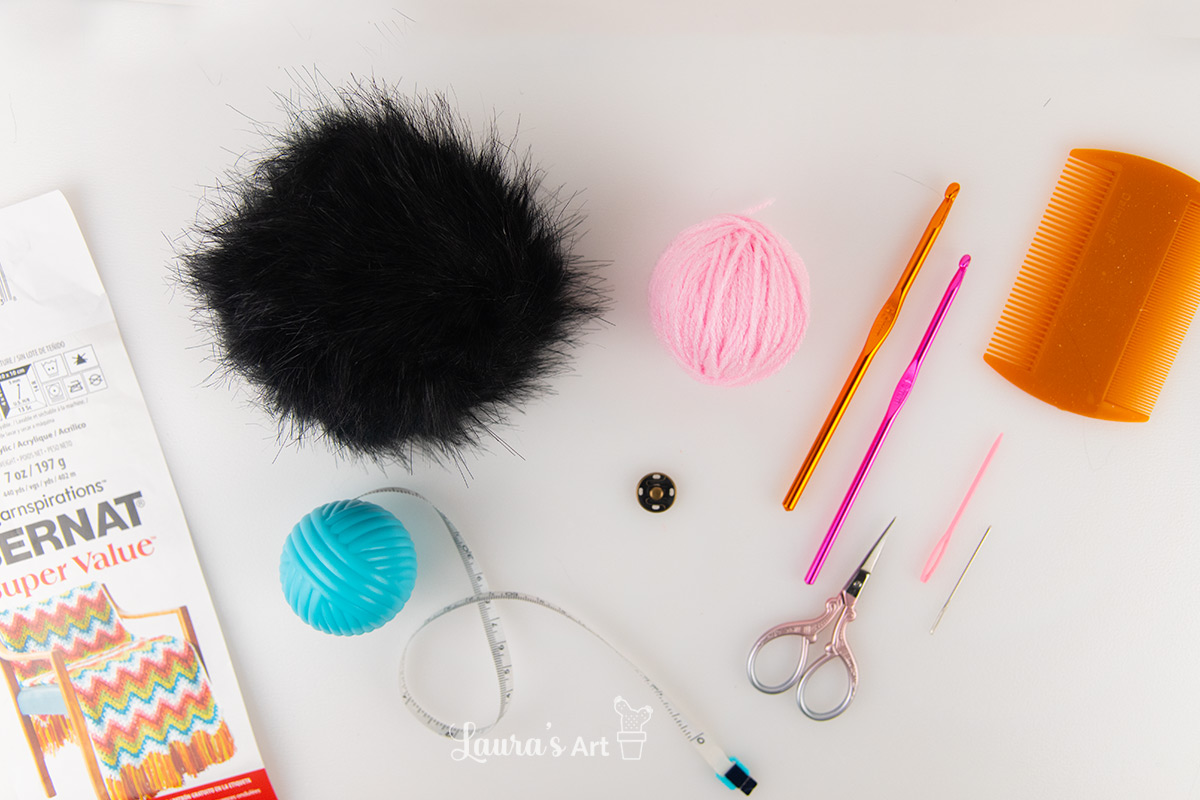
Materials
- Pom Pom. Find here the Faux fur Pom Pom that I’ve used. I got it on Amazon, and it is a package that has 6 pom pons, and by the price, I think it’s a great option, plus we have more pom pons so we can make more hats!
- Acrylic Yarn Medium (4). For this project, I’m using Lion Brand Yarn Pound of Love in the Pastel Green Colour, but to be honest, this is a big ball, you don’t need that much. I’m using it because I had some leftovers for another project, but you can go with any other acrylic medium yarn like Bernat Super Value , Caron Simply Soft Solids Yarn , or Red Heart Super Saver Economy Yarn .
- You will need a 4.5 mm crochet hook. Here are some of my favourite hooks, in case you want to try them out! My first crochet hook set The basics My favourites Clover!
- Scissors
- Darning Needle
- Measuring tape
Look I found this Hat Organizer Hanger for my handmade hats, and I loved it! What do you think?
Abbreviations
- Ch – Chain
- SC – Single Crochet
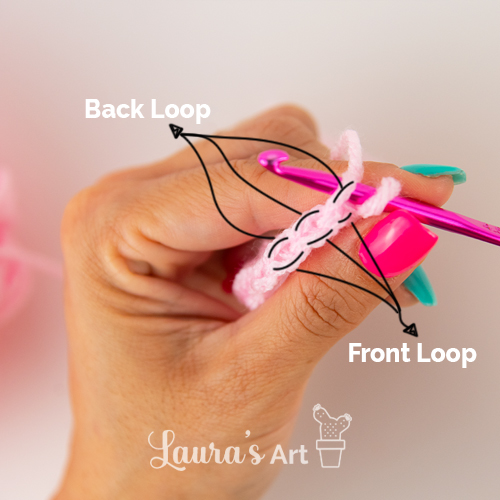
- Back loop – This means that only the back strand of the stitch is used to make the stitch (single crochet).
- FO – Fasten off.
Ok, the first thing you need to do is take your tape measure and put it around your head. Normally your head circumference will be around 21 inches. A little more, a little less, so it’s important to know this number. In my case, it was 21 inches.
Now that we have that, let’s decide on the size of our ribbing. In my case I wanted it to be 10 cm, so I need to make 12 sts. These values can vary according to your taste. For example, if you want the ribbing to fold, you can make it longer, but for this tutorial, we’ll stick with these values.
Alright, let’s get started!
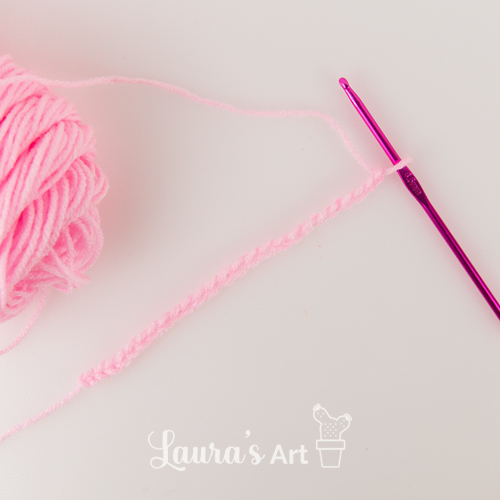
Ribbing
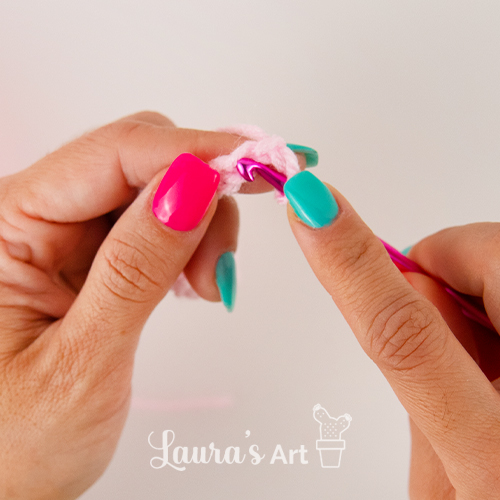
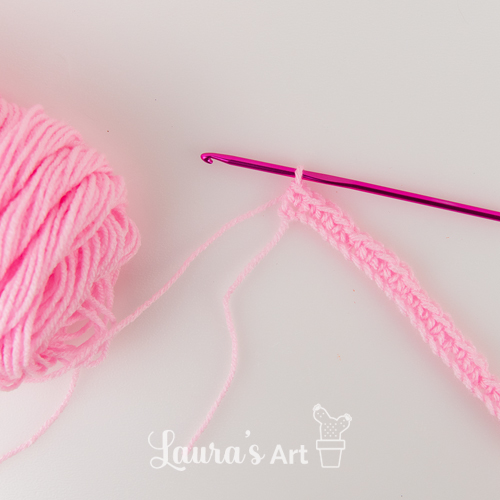
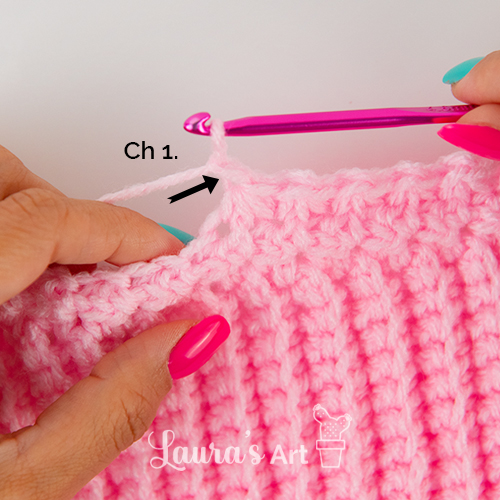
- Start by making 25 ch. Starting from the second chain from the hook, make 24 sc. You will always ch 1 and turn at the end of every row.
- Work 24 sc in the back loop.
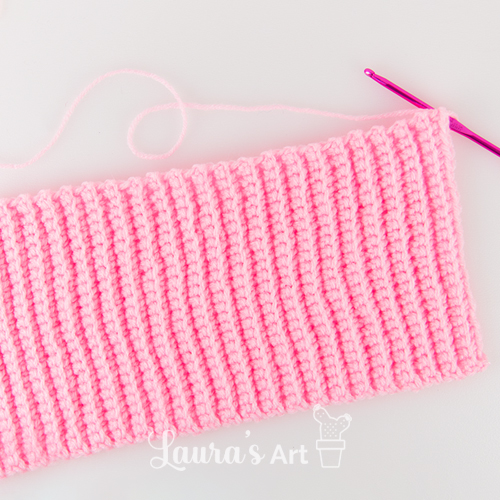
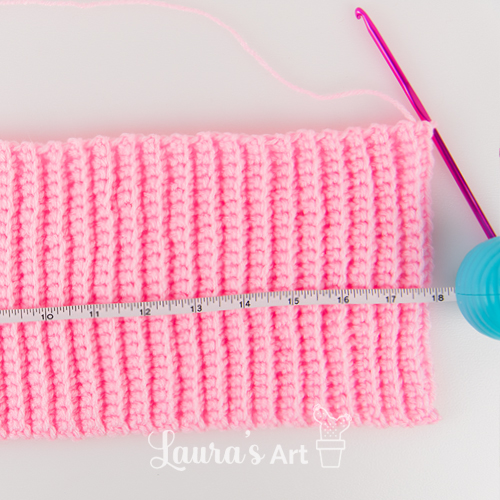
- Repeat row 2 until your piece is 18 inches long. I ended up with 69 rows. We’re not going to work this hat in rounds because for this stitch, at least for me, it was easier to work it flat and we’ll just sew it together.
Now let’s work down the side of our rows.
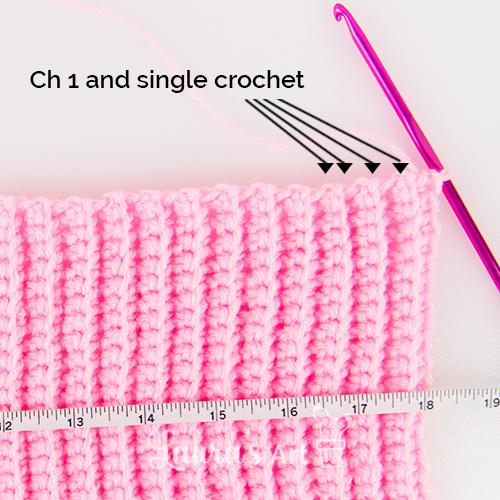
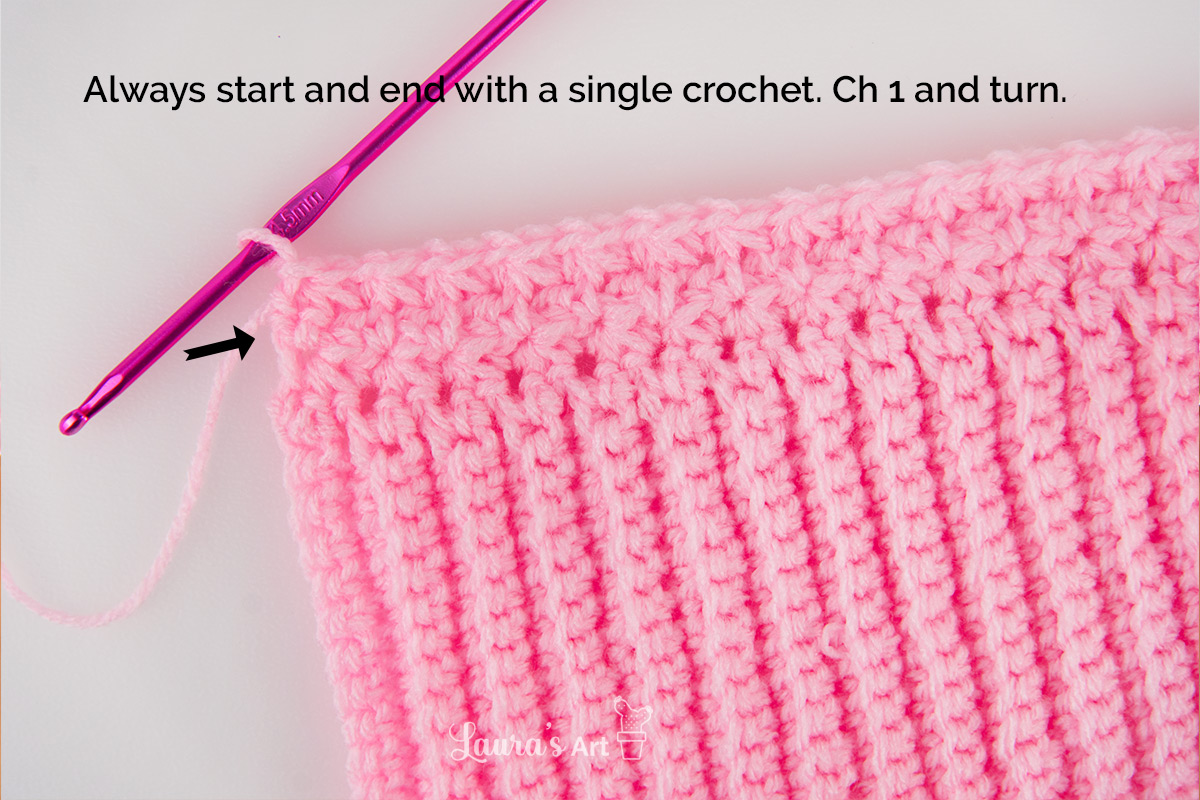
R1. Ch 1 and make a single crochet at the side of the rows, in total you should have 33 single crochets, as we made 33 rows for the ribbing.
From this row to the end you will always make a chain and turn to continue on the next row. If you have different numbers, it is very important that you end with an odd number, so that the pattern works.
R2. 1 sc. 15 Trinity Stitch (starting in the same stitch), finish with a sc.
Trinity Stitch
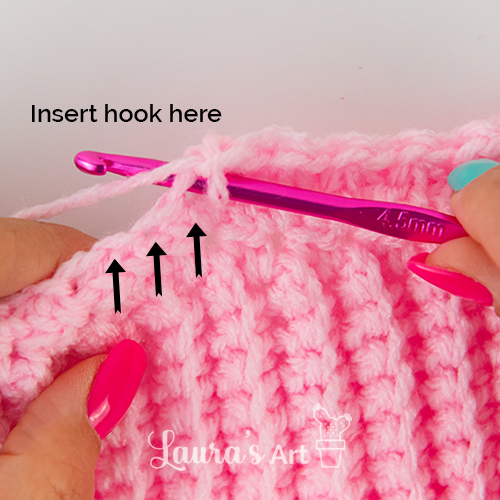
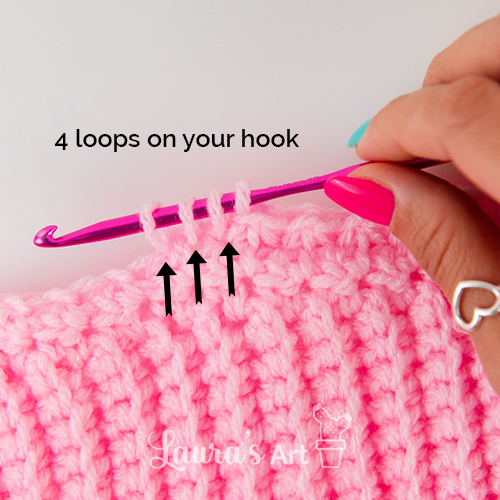
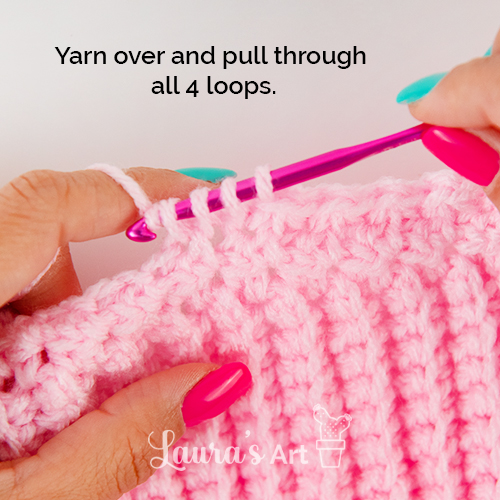
Now you start with the Trinity stitch, which consists of making 3 half single crochets, i.e. insert the hook, pull the yarn, do not close the stitch and go to the next stitch, insert the hook, pull the yarn and go to the next stitch, insert the hook, pull the yarn, which will give you 4 loops on your hook, to finish, yarn over and pull through all the loops in your hook. You will end up with a chain. Now the most important thing to remember is that your next stitch will start from the last stitch you pulled your last yarn from. I invite you to watch this tutorial on YouTube to make it easier to understand the stitch. The truth is that it is very simple once you understand how it is formed.


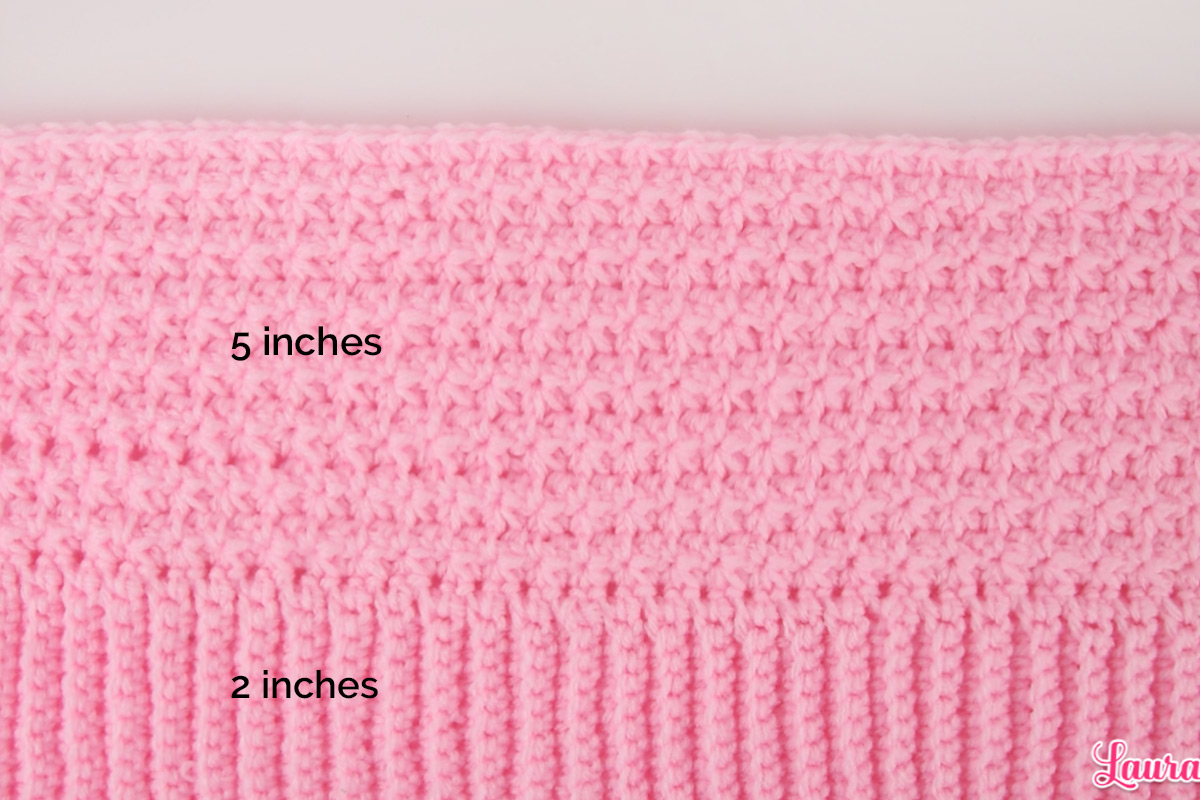
Now continue to make rows until you have the desired height of your hat. This time I wanted a very tight-fitting hat, so I made my hat a total of 8 inches in height.
The ribbing took 2 inches and I worked 5 inches on this last row, giving me a total of 9 rows of trinity sts, ending with 2 rows of decreases. If you want to vary the measurements, just consider leaving the last 2 rows for decreases to finish your hat.
Decrease row
For the 2 rows of decreases, we will do: 1 trinity stitch, and 1 trinity stitch decrease, which is: instead of inserting and pulling the yarn 3 times and having 4 loops on your hook, it will be 5 times, which means 6 loops on your hook, until the end of the row. And then make one more row like this, so 1 trinity stitch and 1 trinity stitch decrease.
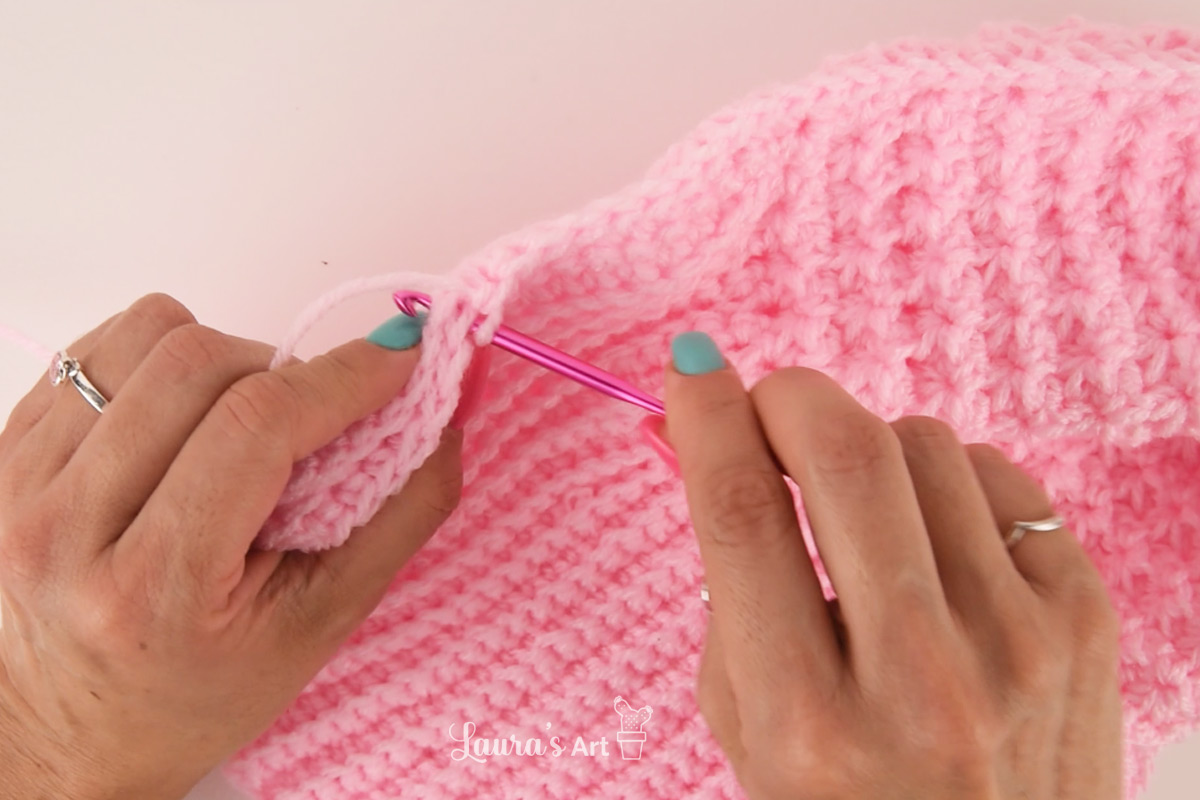
Closing the hat
Ok, so for this we are going to do something fun!! Ready? Ok, so we are going to insert our hook, pull the yarn and go to the next stitch and do that again and in every stitch, so we are going to end up with lots of loops, then you are going to yarn over and go through all of them! And tadaaaaaaaa we close the hat!

Finish
To finish the hat, make a chain, turn the hat inside out, and close the hat by making a single crochet taking both sides to close the hat.
That’s it! You’ve finished your beanie! I hope you liked it as much as I did, and that this stitch was easy for you to make.
Thank you!